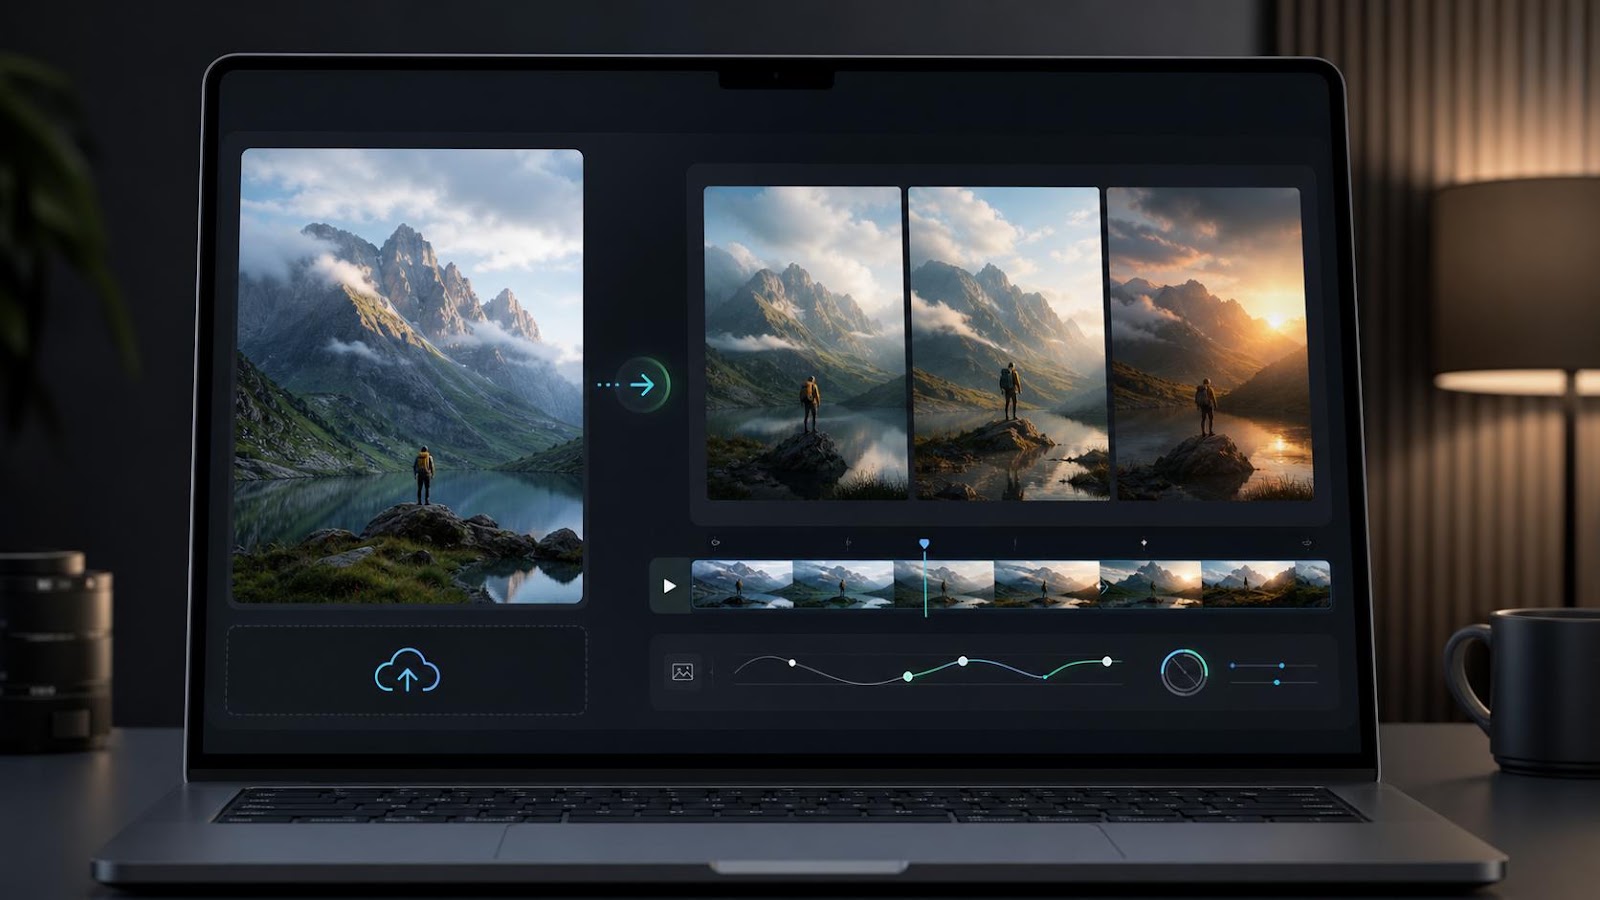
Turn Any Photo Into a Moving Video With AI
You do not always need a camera or professional video editing skills to create engaging social media content. With AI video generators, you can take a single photograph and transform it into a short video with realistic movement.
For example, a picture of a mountain landscape can become a moving scene with drifting clouds and a slow camera movement. A product photo can turn into a short promotional clip, while a city image can appear more cinematic with subtle motion.
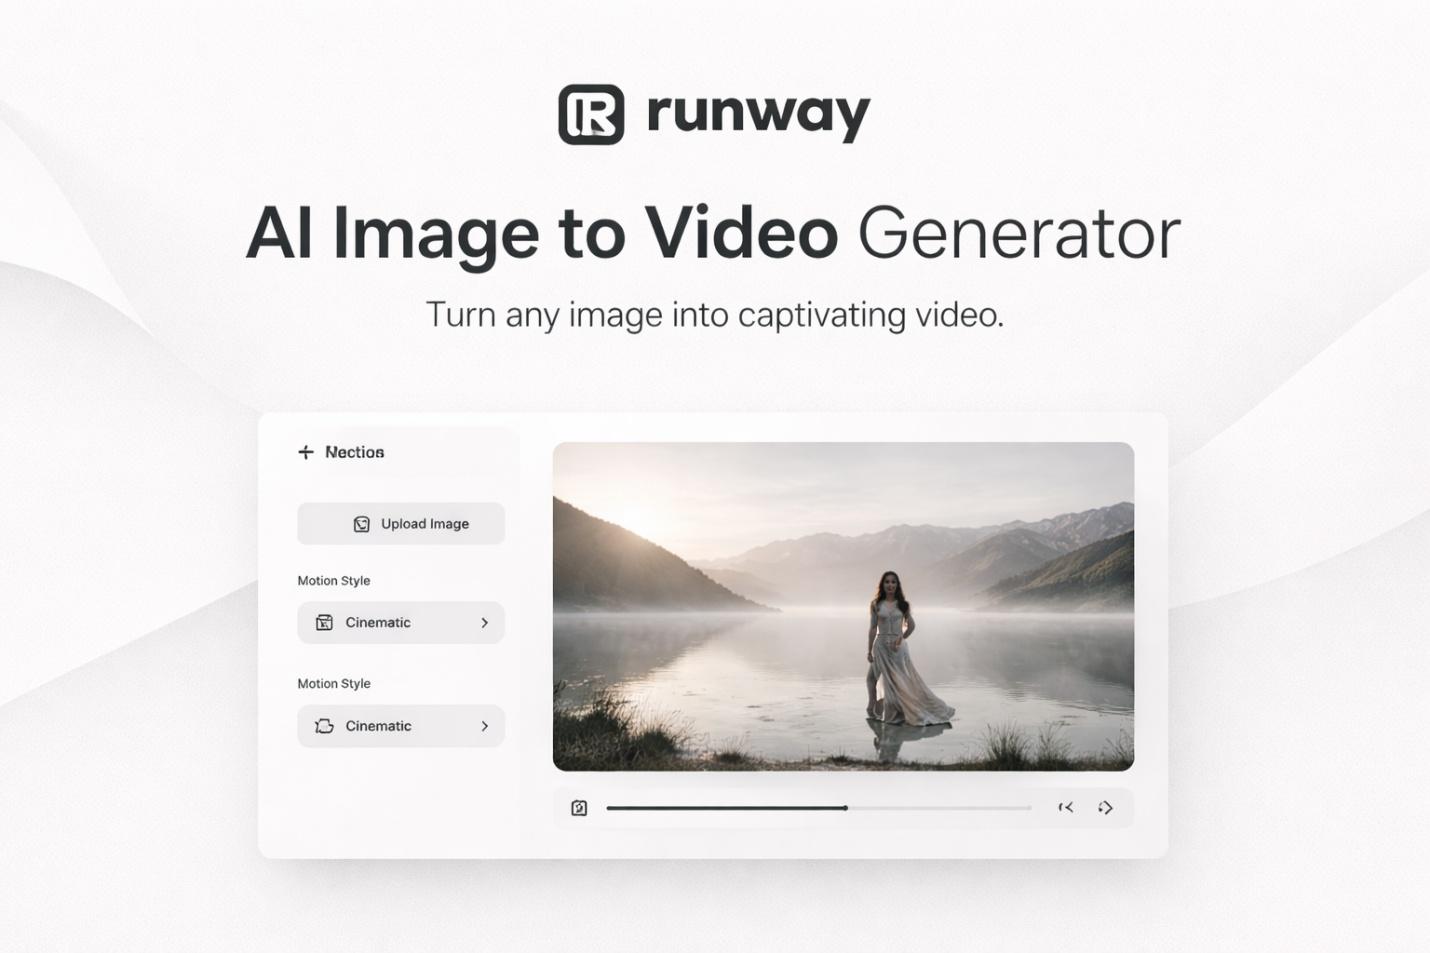
This technique is called image-to-video AI. Tools such as Runway let users upload an image and describe how they want the scene to move. The AI then generates a video based on the original image and the motion instructions.
Here is how beginners can create their first AI video for Instagram Reels or YouTube Shorts.
Step 1: Choose a Good Photo
Start with a clear, high-quality image. You can use a landscape photograph, a product image, a travel photo, or an original AI-generated picture.
Choose an image with a clear subject and enough visual detail. A blurry or poorly lit image may produce weaker results.
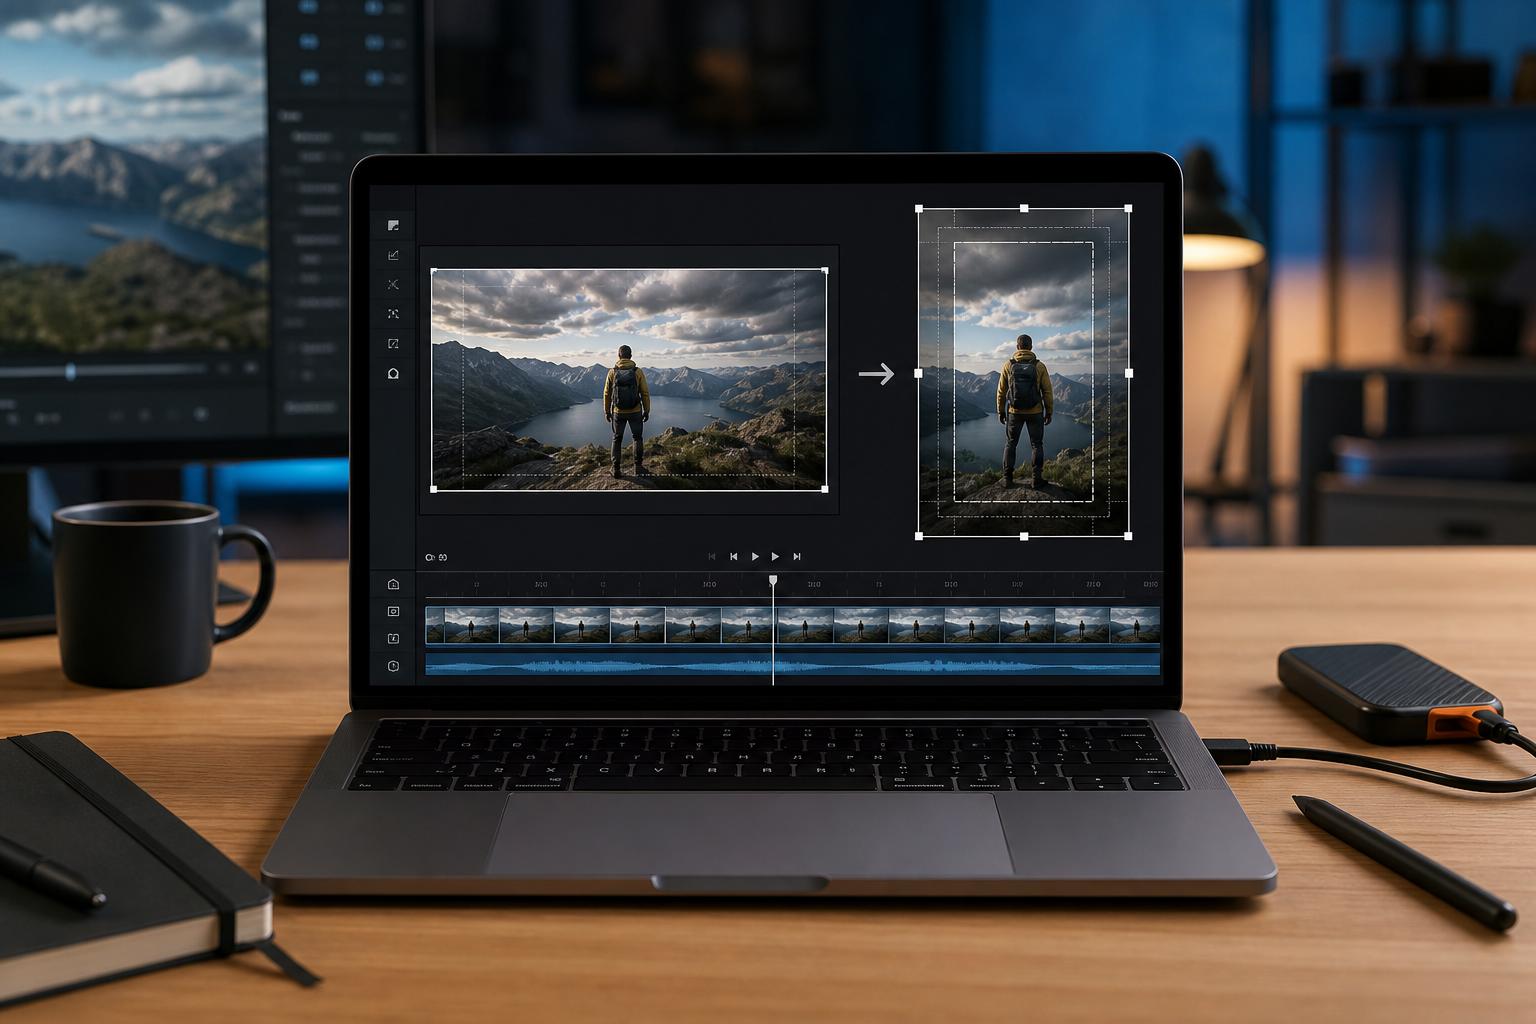
If you are creating a vertical video for Instagram Reels or YouTube Shorts, consider how the image will fit a 9:16 frame. Keep important subjects near the center so they are less likely to be cropped.
Step 2: Open an AI Video Generator
Visit Runway's official website and sign in. Open an image-to-video generation tool that is available on your plan.
Upload your selected photograph as the starting image. The image provides the visual foundation for the clip, including its subject, composition, and lighting.
Availability, generation limits, and costs depend on the tool and subscription plan, so check the current options before generating your video.
Step 3: Write a Motion Prompt
This is one of the most important steps. Instead of describing everything already visible in the photo, explain what should happen in the video.
For example, if you upload a picture of mountains, you could use this prompt:
Example AI video prompt:
“Slow cinematic camera push toward the mountains. Clouds drift gently across the sky, trees move slightly in the breeze, natural sunlight changes subtly, realistic motion, smooth camera movement.”
For a product photograph, try:
“Slow camera movement around the product, soft studio lighting shifts gently across the surface, subtle reflections, smooth premium commercial style, realistic motion.”
Clear and simple instructions often work better than asking the AI to perform many different actions at once.
Step 4: Generate and Review the Video
After entering your prompt, choose the available duration and aspect ratio. For social media, a vertical 9:16 format is usually suitable.
Click the generation button and wait for the tool to process your request.
When the clip is ready, watch it carefully. Check whether the subject stays consistent, the movement looks natural, and the scene matches your instructions.
If the result looks unnatural, adjust the prompt. For example, replace “fast camera movement” with “slow, steady camera movement” or remove unnecessary actions.
Remember that AI-generated video can contain visual mistakes, distorted objects, or unexpected movements. Reviewing the result before publishing is essential.
Step 5: Prepare the Clip for Social Media
Once you are happy with the generated video, export it if your plan allows it. You can then use a video editor such as CapCut to add captions, background music, transitions, or a short introduction.
For Instagram Reels and YouTube Shorts, keep the main subject visible in the vertical frame and make sure captions are easy to read on a phone.
If you are creating a longer video, you can generate multiple short clips from different images and combine them into a single sequence. This creates more variety than repeating the same image animation.
Tips for Better AI Videos
Start with one clear action: Avoid giving the AI too many movement instructions at once.
Use high-quality images: Better source images can help produce cleaner results.
Keep the motion realistic: Subtle movement often looks more natural than exaggerated animation.
Check the output: Watch for distorted faces, changing objects, and inconsistent details.
Respect image rights: Use your own images or pictures you have permission to use, especially for commercial projects.
Final Thoughts
Turning a photo into a video with AI is a practical way to create content for Instagram Reels, YouTube Shorts, and other social platforms without recording new footage.
The process is simple: choose a good image, upload it to an image-to-video tool, describe the desired movement, generate the clip, and review the result before publishing.
You may need several attempts to achieve the right look, but clear prompts and realistic movement can make a significant difference.
If you are new to AI video creation, start with one photograph and a short motion prompt. Once you understand the process, you can experiment with product videos, travel scenes, educational content, and social media promotions.


